
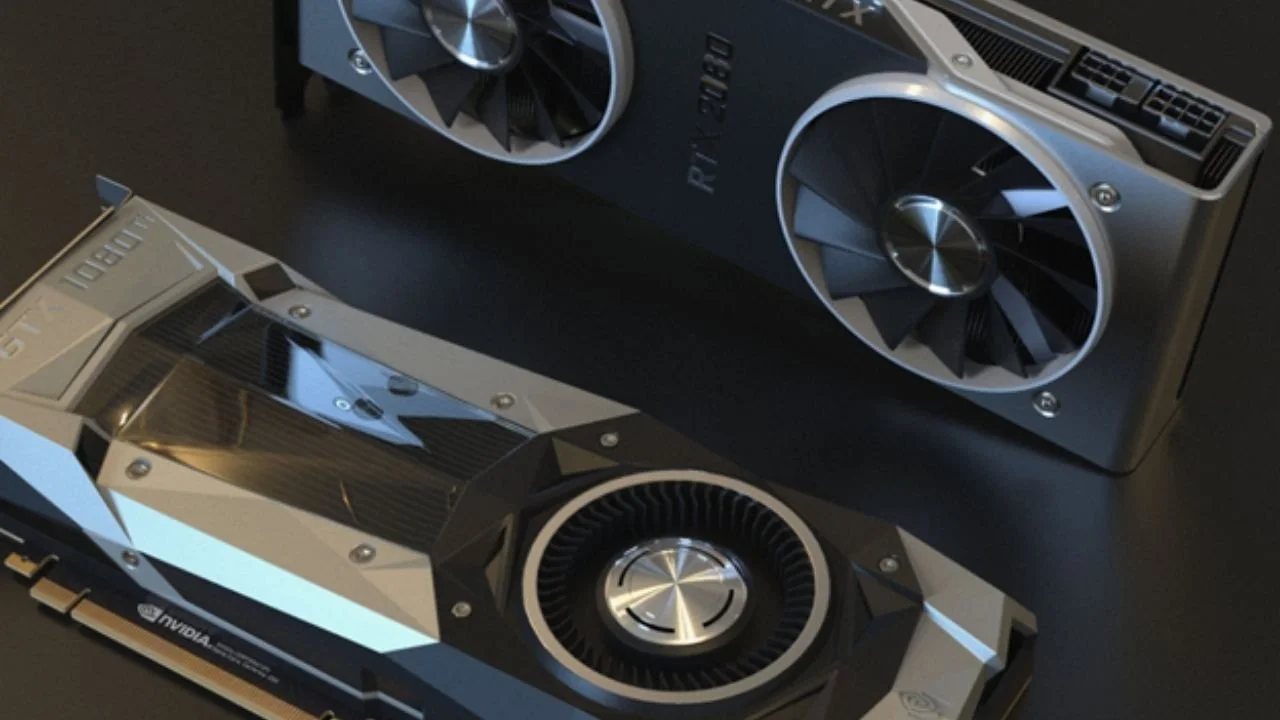
If you’ve been playing around with computers for a while, you do know what thermal paste is. The paste-like substance in between your CPU and heatsink; used for dissipating heat. However, you may not know that thermal paste is crucial in the GPU, too. That’s right, just like how thermal paste is used to regulate the temperature of your CPU, it’s used to cool down your GPU, as well.
Every once in a while, you have to change the thermal paste on your GPU to keep it performing well. If you aren’t familiar with the importance of thermal paste in GPU, this post is a must-read for you.
What happens if I don't change the thermal paste on GPU?
Just like how your CPU gets hotter during processing, your GPU does, too.
Whenever you do a graphically-intensive task, your GPU has to work hard to keep up. Heat is produced as a by-product. And as you might know, heat doesn’t do well with electronics. If you don’t control the temperature of your GPU, it will throttle. Throttling means it will automatically reduce its performance to prevent overheating.
For that reason, you would face lags and shutters in whatever you’re doing, say gaming. Plus, extended exposure to high temperatures may also cause irreversible damage to your hardware.
Now, thermal paste helps you keep your GPU’s temperature under control. However, thermal paste’s performance degrades over time as it dries out. If you have a top-quality thermal paste, it can last you for a couple of years. During this period, your GPU won’t overheat or throttle.
However, when the thermal paste gets degraded, you’d need to replace it with a fresh one. If you don’t, you would face the problems mentioned above, i.e., overheating, throttling, and even permanent damage. If you have a cheap or lower-quality thermal paste, it will last for an even shorter period. A bad thermal paste would only perform well for a couple of months.
How often should you replace the thermal paste on GPU?
It depends.
The first, and the most obvious, factor is your thermal paste’s quality. If you’re using a high-quality thermal paste, you won’t have to replace it for a few years. If you’re relying on a cheap paste instead, you might need to change it every couple of months.
Another factor is the way you use your computer. If you do a lot of heavy processing and graphical rendering on your PC, the thermal paste will dry out faster. But if you’re a casual user who only browses the web and writes school documents, it won’t degrade that fast. In such cases, your thermal paste will last longer. In general, changing your thermal paste every 1~2 years is a good idea.
We recommend always opting in for a high-quality thermal paste to get the most out of your computer. Kooling Monster KOLD-01 thermal paste is a top-tier thermal paste that’s going to last you as long as possible.
Can I use CPU thermal paste on GPU?
Absolutely.
CPU and GPU use the same kind of thermal paste for dissipating heat. Plus, the general physics for the transmission of heat from one component to another is the same, so there’s no harm in using the same paste on both. If you pick a high-quality paste, say Kooling Monster KOLD-01, it won’t be electrically conductive, meaning you don’t even have to worry about causing short circuits in your GPU.
Be noted that GPU can often reach higher temperatures when rendering dense graphical elements. So, it’s super important to choose a high-quality thermal paste. If you pick a cheap one, it won’t be able to keep up with the rising temperature, causing throttling and overheating.
How to apply thermal paste on GPU
Even though applying the thermal paste on a GPU is essentially the same process as applying it on CPU, the steps that come before and after the application are different.
To make sure you’re doing it right, follow the steps below. (Learn more about How to Correctly Apply Thermal Paste on GPU/Graphics Card)
-
Make sure you have your new thermal paste on your work desk.
-
Disassemble the GPU by taking off all the screws on the top plate, disconnecting the fan cable, and removing the cover.
-
Remove the heat sink. It might be a bit hard if the old paste has dried out and is sticking to the heatsink.
-
Clean the old thermal paste with isopropyl alcohol — although it might be a bit hard to get your hands on that. The best way to go about the situation is to grab Kooling Monster’s dedicated Thermal Paste Remover.
-
Apply the new thermal paste to the chip. Make sure to get the amount right. If you apply too much of it, it would squeeze to the sides, which could cause problems. Apply too less of it, and the thermal performance won’t be ideal.
-
Place the heatsink back on top, attach the fan cable, and put the GPU cover back on.
-
Finally, put in all the screws and tighten them up.
The bottom line
There you have — now you’re familiar with everything you needed to know about GPU thermal paste; why it’s necessary, and why you must change it once in a while.
Again, choosing the best-quality thermal paste is crucial. A substandard paste can cause a series of short- and long-term problems, which you want to avoid at all costs.
![How to Apply Thermal Paste to a CPU? [2026 Step-by-Step Beginner Guide]](/_next/image?url=%2Fimages%2Fscraped%2F7f0f852b1856.webp&w=3840&q=75)
