
So, you just applied the new thermal paste to your CPU — and then turned it on expecting noticeable thermal performance gains — but your computer started restarting randomly.
You’re dreadful; wondering what the heck went wrong. First of all, don’t panic. No matter how bad it seems, you can get out of the situation without any permanent damage to your computer.
Here’s what you need to do.
Why does my computer continue to restart after reapplying thermal paste to the CPU?
There could be more than a few reasons why this is happening. Plus, it may happen in more than one form.
First, your computer may not turn on at all. Every time you try to boot it up, you might hear one or two beeps, followed by a shutdown.
Secondly, your computer may turn on, but it might randomly restart without any warning.
In both cases, the issue might be that you did something wrong while replacing the thermal paste.
There may be thermal paste left on the connector pins, causing your computer to not work properly. Furthermore, if the thermal paste you’re using is electrically conductive, it may be causing short circuits — which could be dangerous for your computer. If you know your thermal paste is electrically conductive, unplug your computer immediately.
It’s also possible that you haven’t connected the CPU or the cooler correctly.
Last but not least, you may not have applied thermal paste correctly. If this happens, your CPU could overheat, which in turn, will cause your computer to shut down or restart. Your computer does this to prevent any further heat from damaging it permanently.
Learn more about How to Apply Thermal Paste to a CPU? [2026 Step-by-Step Beginner Guide]
How to deal with the computer restarting problem?
First things first, if your computer is turning off or restarting continuously, don’t try to boot it up again and again. Shut it down until you find the root of the problem and fix it.
Next, open up your computer and remove the cooler and the CPU.
Make sure there’s no unwanted thermal paste anywhere it shouldn’t be. Some of the spots to look for are on the motherboard, in the CPU socket, on the edges under the CPU, in the connector pins — or anywhere else that doesn’t feel right.
If you do find thermal paste on an unwanted spot, you want to clean it up and start over.
Plus — make sure you’re connecting the pins perfectly. Incorrect connections may also cause the random shutdown/restarting issue.
How to remove the thermal paste from the CPU socket and CPU pin?
If you’ve found the cause of the problem to be excess thermal paste on the CPU socket, you will need to clean it up.
Here’s how you proceed with it.
1. First of all, make sure you’ve removed all the connectors and other components from your motherboard. This will give you more space to work with.
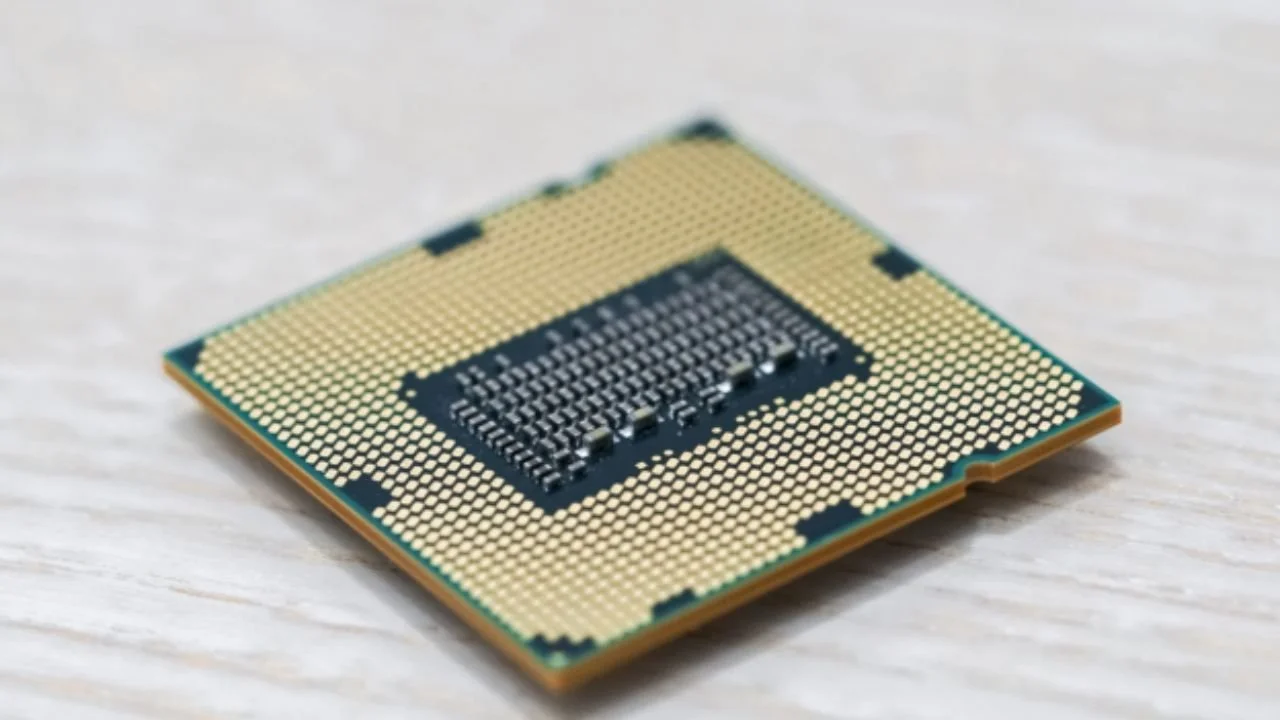
2. Now, pay close attention to the direction of the pins on your socket. Those are never in an upright direction; they’re rather facing one side at an angle of around 45 degrees. This is important because you will clean the pins by wiping them in the direction they’re facing. If you go in the opposite direction, you might bend or break one or more pins.
3. Now, grab a dedicated thermal paste removing solution, or rubbing alcohol.
4. Put a few drops of your cleaning solution in the socket. There should be enough liquid to cover the entire surface, but not too much.
5. Wait around 5 minutes for the cleaner to do its job.
6. Now, grab some cotton buds. Pick one and rub it on the pins in their direction. Remember, never go in the opposite direction of the pins.
7. Repeat the process 3 times until you notice that all the thermal paste has come off. Use a new cotton bud every time.
8. Now, leave your computer in a warm and dry environment for 24 hours, letting it dry up completely.
When 24 hours have passed, you’re free to apply new thermal paste on your CPU and use your computer as you will.
Learn more about Thermal Paste on CPU Pin? How to Remove Thermal Paste from CPU Socket?
How to avoid shorting issues while reapplying thermal paste?
After you’ve removed the thermal paste from the CPU socket and pins, you want to make sure you apply the new thermal paste correctly to avoid any problems going forward.
Firstly, make sure you’ve cleaned up all of the thermal paste before applying a new one. You need to clean it up from the CPU and heat sink, as well as from places where it shouldn’t be, like the motherboard, CPU sockets, or anywhere else.
Then, apply the new thermal paste correctly. If you’re having problems applying the right amount of thermal paste, causing it to spill outside, you should use the buttered toast method to apply thermal paste. (Learn more about Estimate How Much Thermal Paste You Need on CPU/GPU With a Calculator & What Is the Best Thermal Paste Pattern? Actual Performance Comparison)
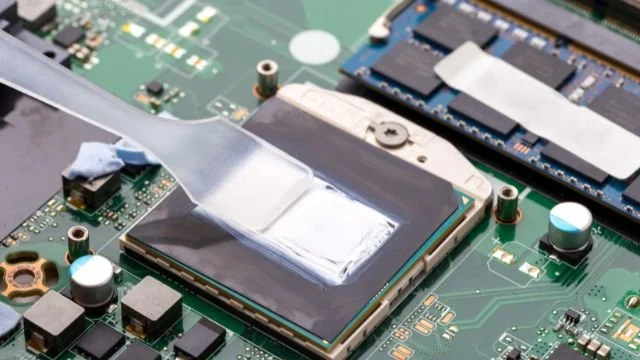
After you’ve placed the heatsink down, examine it up close and make sure there’s no thermal paste leaking from the edges.
Is thermal paste electrically conductive?
Some thermal pastes are, while others aren’t.
Metal-based thermal paste are electrically conductive. Hence, most experts don’t recommend using such pastes in 2026 when so many other great options are available.
An electrically-conductive paste can cause many problems if it ends up somewhere where it shouldn’t be.
Our very own, KOLD-01 is not electrically conductive. So, even if you accidentally leave some of it on a component where it doesn’t belong, it won’t cause any damage to your computer.
Learn more about Is Thermal Paste Electrically Conductive?
**The bottom line
If you connect your CPU/heatsink incorrectly — or if you accidentally leave thermal paste on a component that shouldn’t have it — you may face random restarts and shutdowns in your computer.
In such a case, you should use the steps mentioned in this article to clean up the excess thermal paste completely before applying a new one.
While applying the new paste, make sure you’re using a good-quality one to avoid any problems. You should look for a paste that isn’t electrically conductive.
![How to Apply Thermal Paste to a CPU? [2026 Step-by-Step Beginner Guide]](/_next/image?url=%2Fimages%2Fscraped%2F7f0f852b1856.webp&w=3840&q=75)
