
Quick links for the tools you need:
-
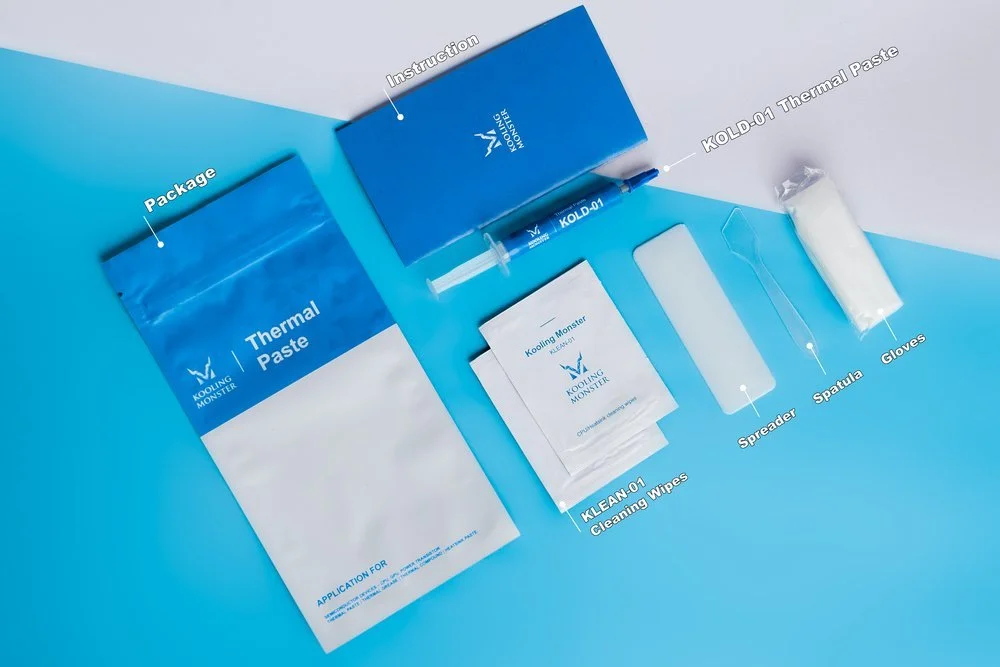
KOLD-01 Thermal Paste (includes KOLD-01 Thermal Paste x 1, Gloves x 1 pair, KLEAN-01 Thermal Paste Cleaning Wipe x2, Spreader x 1, Spatula x 1, Instruction x 1 )
-
KLEAN-01 Thermal Paste Cleaning Wipe (includes KLEAN-01 Thermal Paste Cleaning Wipe x 20, Gloves x 1 pair, Spreader x 1, Spatula x 1)
-
KOMBO-01 Screwdriver Set (includes Screwdriver bits x100, Driver handle x1, Extension shaft x1, Flexible extension shaft x1, Tweezers x1, 1/4"to 4mm Driver adapter x1, Plastic pry tools x3, SIM card removal tool x1, Suction cup x1, Opening picks x8, Magnetizer/Demagnetizer x1, Anti-static Brush x1, Magnetic Screw Mat x1)
So, you’re trying to change the thermal paste on your HP Pavilion Gaming 15, but are too afraid to approach it without proper guidance. Well, that’s the correct way to go about it!
If you don’t have experience cleaning and changing thermal paste on a laptop, taking professional help is always a good idea. That said, here’s everything you need to know before you attempt to change your thermal paste.
But first, let’s talk a bit about what you could get after you’ve successfully done the procedure.
What will I get after changing the thermal paste?
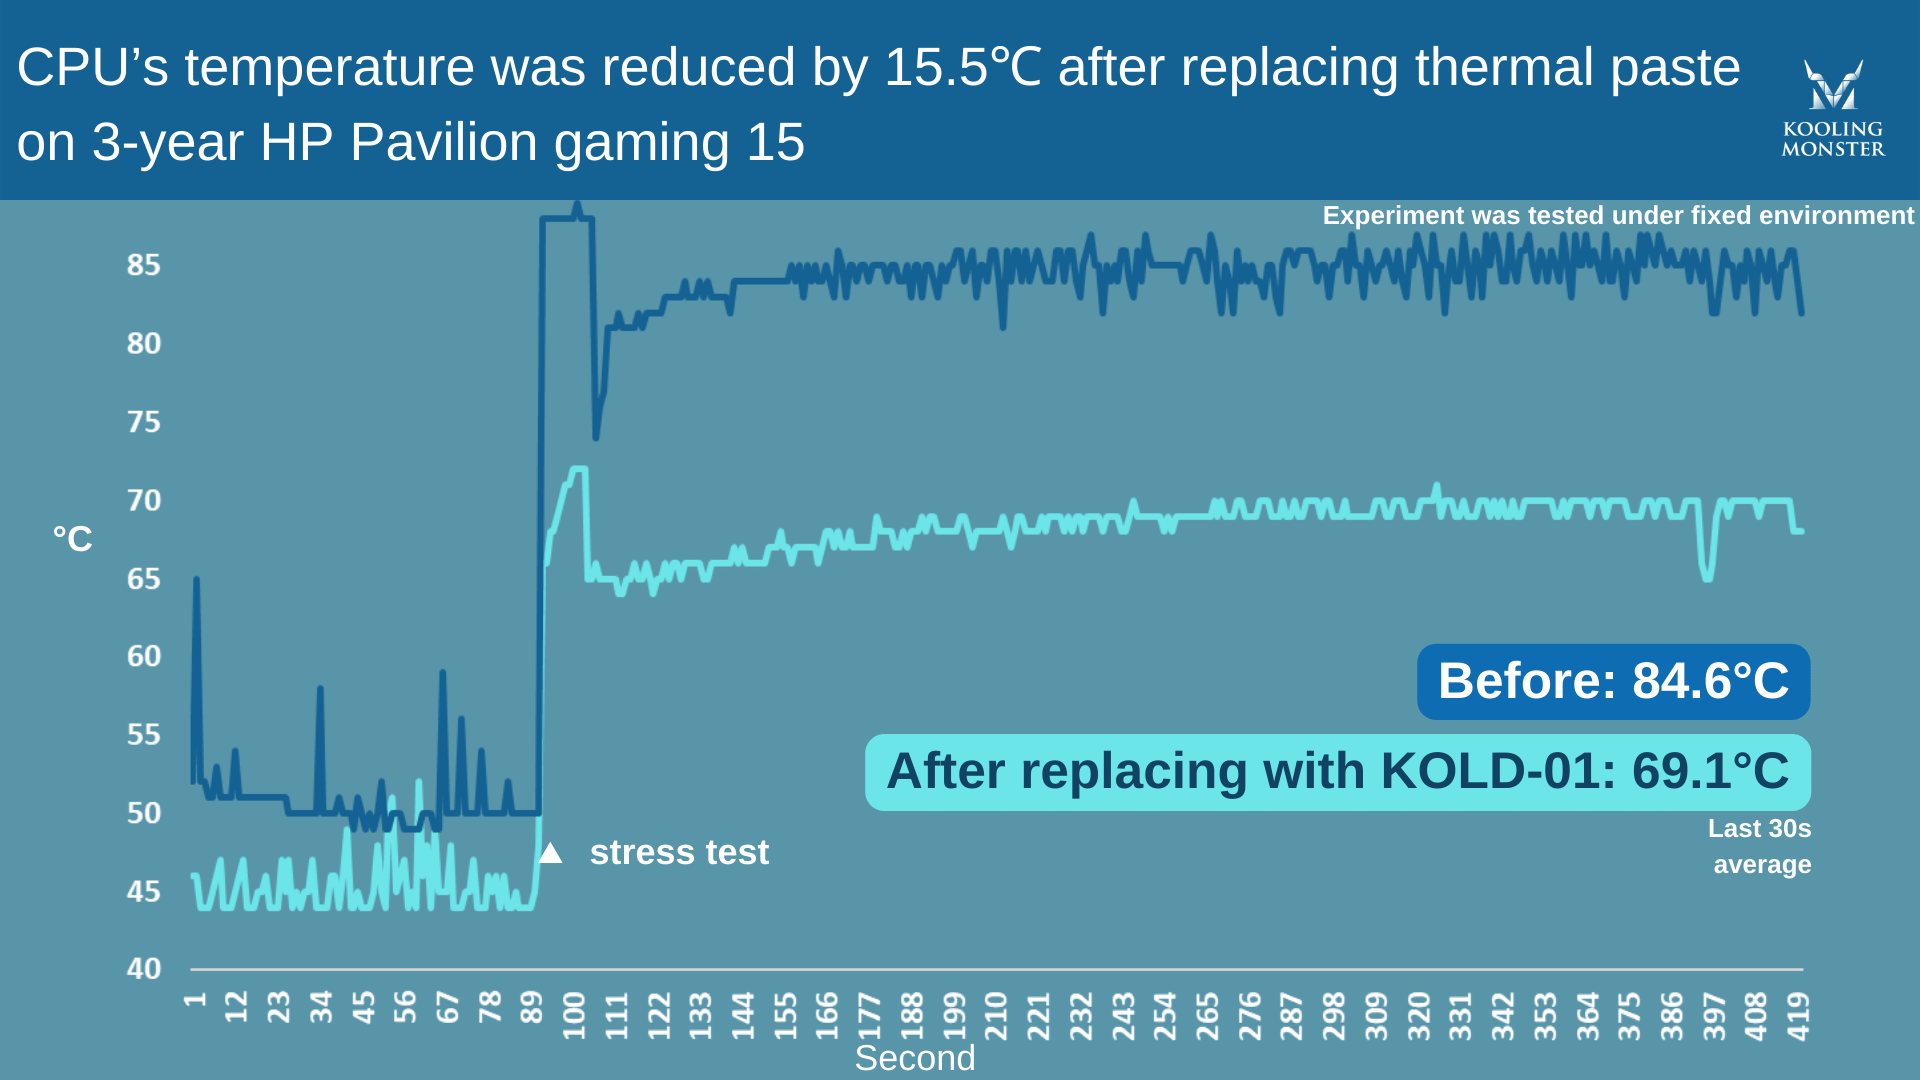
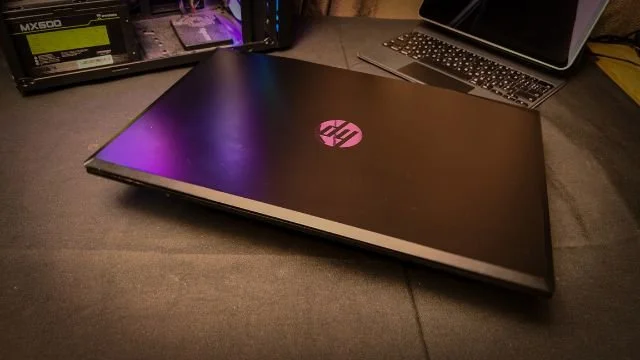
To make it clearer, we performed stress tests on a 3-year-old HP Pavilion Gaming 15, before and after applying the new thermal paste. For this test, we used our very own Kooling Monster KOLD-01 thermal paste.
Before applying the new paste, the CPU reached a temperature as high as 84.6 degrees Celcius during the stress test. Before the test began, the CPU was running at around 50-65 degrees Celcius when idle. This temperature is higher than it should be, especially when nothing heavy is running on the CPU.
After applying the new paste and before running the test, the CPU was idling at around 40-50 degrees Celcius. During the stress test, the maximum temperature was reduced to a much cooler 69.1 degrees Celcius.
That’s around 15 degrees of improvement just by applying a new thermal paste! Needless to say, if you’re changing the thermal paste on your Pavilion Gaming 15 after a few years, you can expect the same level of thermal performance gains.
What to prepare before you replace thermal paste?
Before you get started with the process, you need to have all the essentials by your side.
First and foremost, you need to have the new thermal paste with you. Make sure to pick a high-quality one for optimum results.
You also need some equipment to clean up the old paste. We recommend getting a dedicated cleaning solution, like Kooling Monster KLEAN-01. Plus, if you opt in to get Kooling Monster KOLD-01 thermal paste, you get cleaning wipes free of cost in the package.
You also need a set of screwdrivers to disassemble your laptop. To lift up the metal chassis, you’d need a suction cup and a prying rectangle. You also need to make sure you keep the screws organized. For that, you could use a small storage box to keep different screws.
To remove fan cables, we recommend using tweezers and a spudger.
When opened, you’d need some additional cleaning equipment to clean up your fans and other hardware components. That includes small brushes and an air blower (or a compressed air can). To apply the new paste, you need a spatula to spread it evenly — which comes in the KOLD-01 packaging for free.
Lastly, we recommend wearing a pair of protective gloves while doing all this. If you get our KOLD-01 thermal paste or KLEAN-01 cleaning kit, protective gloves come free of cost in the package, so you don’t have to worry about that.
How to disassemble the HP Pavilion Gaming 15 laptop and replace the thermal paste?
The first thing you need to do is remove the laptop case and the battery.
To do that, follow the steps below.
-
Flip the laptop topside down.
-
Remove the long screws on the top and the short screws at the bottom. Use the storage box to keep different screws organized.
-
Use the suction cup and the triangular pry tool to remove the backplate, then lift it up.
-
Unscrew the screws on the battery and remove the battery.
Next, you need to remove the fans and clean them up. To do that, follow the steps below.
-
Remove the two screws on the fan.
-
Use a pair of tweezers and a spudger to remove the connectors.
-
Repeat the above two steps to remove the other fan as well.
-
Use a brush and air blower or compressed air to clean up the dust from the fans.
Next, you need to remove the heat sink and then clean up the old thermal paste from below it. Here’s how to do that.
-
Unscrew the 7 screws from the heatsink and lift it up.
-
Put on your protective gloves.
-
Use the cleaning wipes to remove the dried-out thermal paste from the CPU/GPU, as well as the heatsink. We recommend using at least two cleaning wipes to clean up the paste effectively.
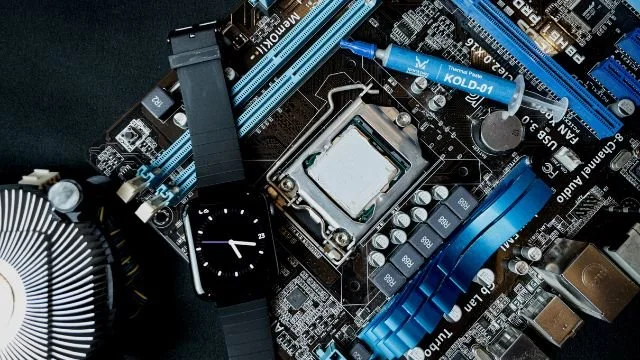
Next, you need to apply the new thermal paste. Here’s how.
-
Grab your thermal paste and open it up.
-
Apply a thin and even layer of thermal paste on the CPU and GPU. You can use a spatula to make the layer thin and even.
-
If there’s any excess thermal paste on the edges, remove it.
And finally, it’s time to assemble the laptop. To do that, all you need to do is put everything back in reverse order, i.e., reinstall the heatsink, fans, battery, then the case.
How often should you change the thermal paste?
It depends on what you do on your laptop and how good is the thermal paste you’re using.
As we’re talking about a gaming PC, it’s very likely that you game on it at least a few times per week — and gaming is an intensive task. In this case, we recommend replacing the thermal paste every 1-2 years. However, if you’re using a low-quality paste, you might need to replace the paste more often. (Learn more about How Often Should You Replace Thermal Paste?)
The general rule of thumb is to keep an eye on your thermals. As soon as you notice that your thermals are going higher than they should, it’s likely that your thermal paste needs changing — and you should replace it at that point.
How long does it take for thermal paste to work?
Good quality thermal pastes don’t need any time to start working. For example, if you use KOLD-01, it starts giving you the best possible performance as soon as you assemble your laptop and start using it.
However, some pastes do have a “curing time”, which means that paste requires a certain period of time before it starts giving its best performance. The curing time is usually mentioned on the product page. (Learn more about How Long Does It Take for Thermal Paste to Work?)

The bottom line
Let us know which laptops to demo this process with next!
Even though replacing the thermal paste may sound like a hefty job, it’s pretty easy if you follow the right instructions. To begin with, make sure you have the right equipment by your side.
__
Disassemble your laptop, clean up the fans, remove the old paste, apply the new one, then put everything back together.